
Pack Your Record Player like a pro.
Moving can be stressful, especially when it comes to fragile and valuable equipment like your record player. A turntable is a precision instrument with delicate components that need careful handling to avoid damage. Whether you’re moving across town or across the country, follow this guide to ensure your vinyl spinner arrives in perfect working order.
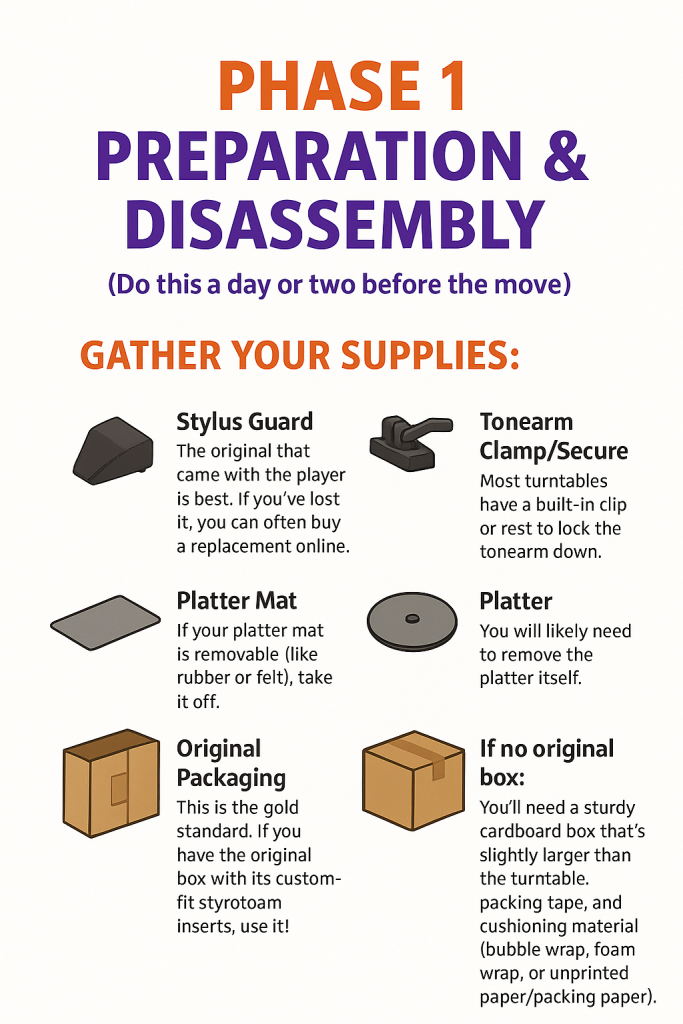
Phase 1: Preparation & Disassembly
(Do this a day or two before the move)
Gather Your Supplies
Before you begin, make sure you have everything you’ll need:
- Stylus Guard: The original guard that came with your player is ideal. If it’s lost, look for a replacement online—it’s a small investment that can save your stylus.
- Platter Mat :If your mat is removable (rubber or felt), set it aside.
- Original Packaging: Nothing beats the original box and custom-fit foam inserts. If you’ve kept them, now’s the time to use them.
- Tonearm Clamp: Most turntables have a built-in clip or rest to lock the tonearm in place.
- Platter :You’ll likely need to remove the platter for safe transport.
- If You Don’t Have the Original Box
You’ll need: - A sturdy cardboard box slightly larger than the turntable
- Packing tape
- Cushioning material: bubble wrap, foam wrap, or unprinted packing paper
Step-by-Step Packing Instructions
1. Secure the Tonearm and Stylus (CRITICAL STEP)
This is the most important part of the process. A loose tonearm or exposed stylus can easily be damaged.
- Gently lower the cueing lever (if your player has one) to rest the tonearm on its stand.
- Secure the tonearm: Use the built-in clamp or tie-down to lock it firmly in place. This prevents swinging during transit.
- Install the stylus guard: Never move a turntable with an exposed stylus. This tiny component is extremely vulnerable.

2. Remove the Platter and Mat
- Carefully lift off the platter. Place it on a soft, clean surface.
- Remove the platter mat if it’s separate.
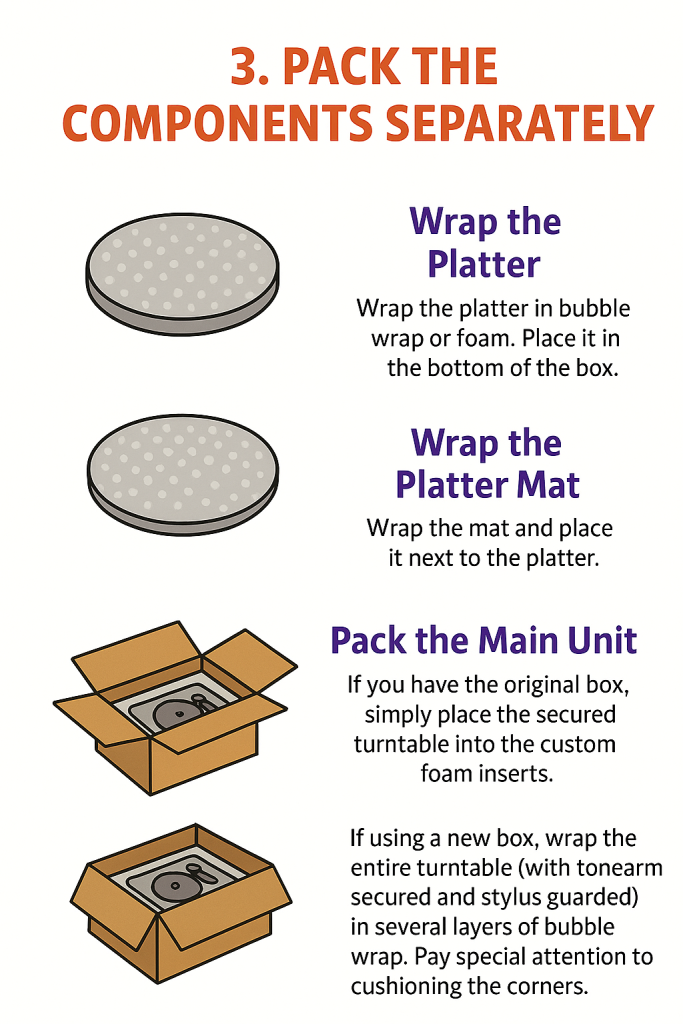
3. Pack the Components Separately
Wrap the Platter
Use bubble wrap or foam to protect the platter. Place it at the bottom of your box.
Wrap the Platter Mat
Wrap the mat separately and place it next to the platter.
Pack the Main Unit
- If using the original box, place the secured turntable into the custom foam inserts.
- If using a new box, wrap the entire unit (with tonearm secured and stylus guarded) in several layers of bubble wrap. Pay extra attention to cushioning the corners.
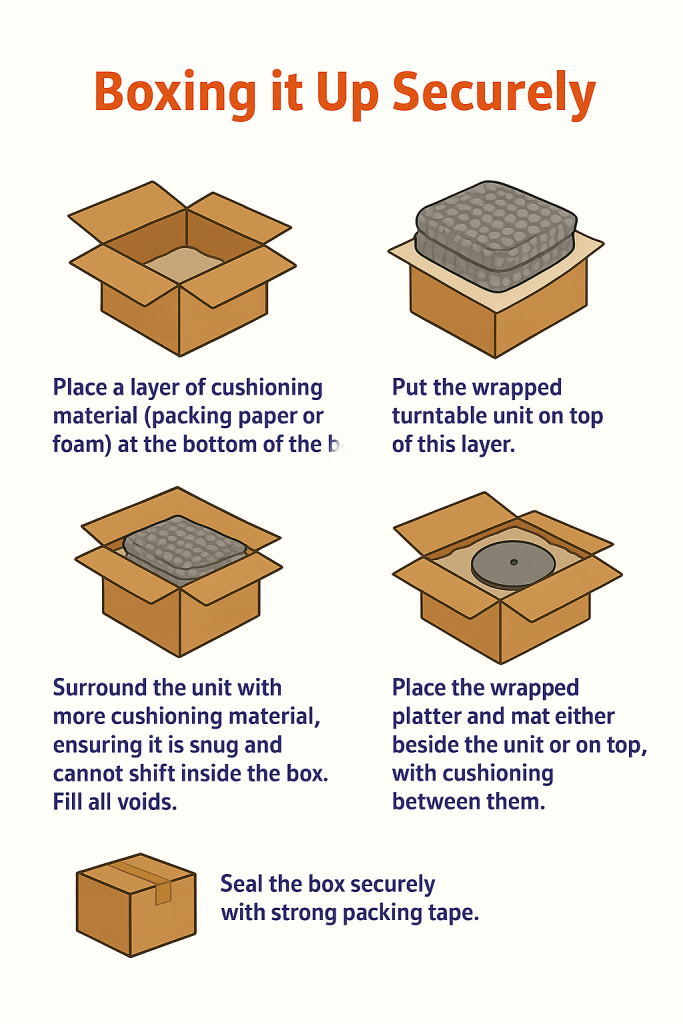
Boxing It Up Securely
- Layer the Bottom: Place a layer of cushioning material (packing paper or foam) at the bottom of the box.
- Position the Turntable: Put the wrapped turntable unit on top of this layer.
- Add Cushioning: Surround the unit with more cushioning material, ensuring it’s snug and can’t shift. Fill all empty spaces.
- Include Platter and Mat: Place the wrapped platter and mat beside the unit or on top, with cushioning between them.
- Seal the Box: Close the box and seal it securely with strong packing tape.
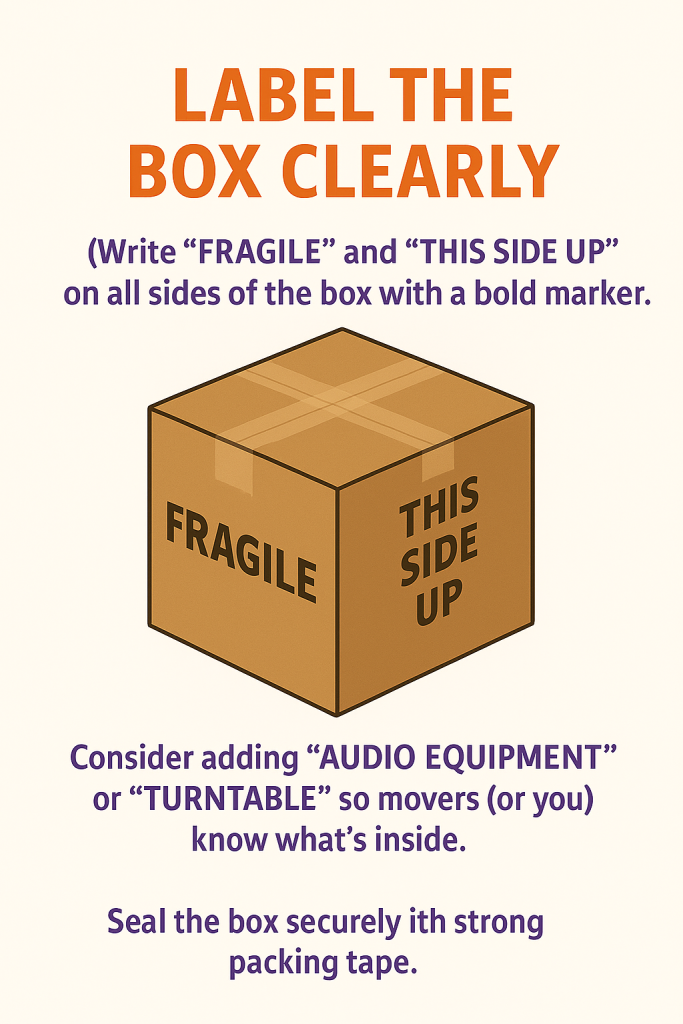
Label the Box Clearly
Don’t skip this step—it’s essential for safe handling.
- Use a bold marker to write “FRAGILE” and “THIS SIDE UP” on all sides of the box.
- Consider adding “AUDIO EQUIPMENT” or “TURNTABLE” so movers (or you!) know exactly what’s inside.
Final Tips to Pack Your Record Player like a pro.
- Keep It Upright: During transport, store the box upright and avoid tilting or jostling.
- Climate Control: If possible, keep your turntable in a temperature-controlled environment to avoid damage from extreme heat or cold.
- Unpack Promptly: Once you arrive, unpack your record player as soon as possible to check for any issues and set it up properly.
By following these steps, you’ll give your record player the best possible protection during your move. Happy spinning in your new space.
For similar content, check this out: